
Introduction
Learning how to replace a kitchen faucet is a valuable skill that saves time and money while enhancing your kitchen’s functionality. This article explains the steps for a successful DIY faucet replacement, including turning off the water supply, installing a new faucet, and testing for leaks.
You’ll also discover the benefits, maintenance tips, and reasons to upgrade to a modern kitchen faucet for better efficiency.
How to Replace a Kitchen Faucet?
Learning how to replace a kitchen faucet can save you time and money. This step-by-step guide simplifies the process for a successful DIY project. From turning off the water supply to testing the new faucet, each step is explained clearly. With the right tools and preparation, you can achieve a hassle-free faucet replacement.
Turn Off the Water Supply
Find the shutoff valves under the sink and turn them clockwise to stop water flow. If these valves don’t work, shut off the main water supply for the house. Ensure the water is fully stopped before proceeding by testing the faucet. Place a bucket underneath to catch any remaining water.
Disconnect the Water Supply Lines
Use an adjustable wrench to loosen and disconnect the hot and cold water supply lines attached to the old faucet. Be careful, as water may still drip from the lines. Place a bucket or towel underneath to avoid messes. Ensure both lines are entirely disconnected before moving to the next step.
Remove the Old Faucet
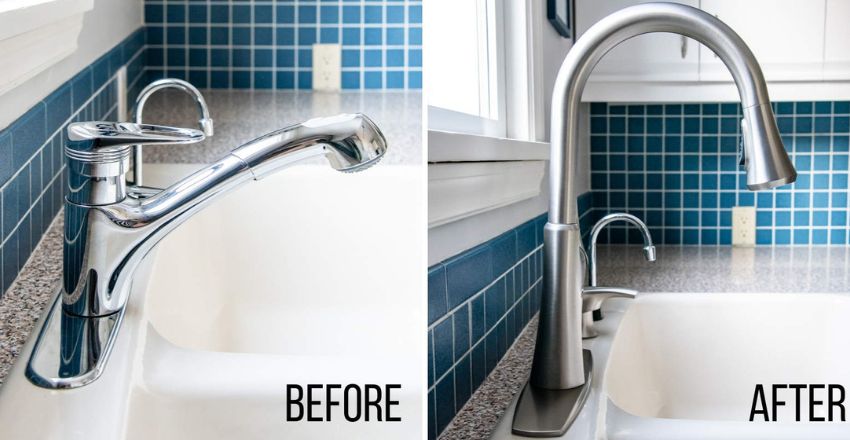
Loosen the mounting nuts holding the faucet to the sink using a basin wrench. Once the nuts are removed, carefully lift the old faucet out. If it’s stuck, use gentle wiggling or apply a lubricant to loosen it. Clean up any remaining debris or sealant.
Clean the Sink Area
After removing the old faucet, thoroughly clean the sink area to prepare for installation. Remove old plumber’s putty, grime, and any debris around the faucet holes. Use a scraper or a damp cloth to ensure a clean surface. This step ensures a proper seal for the new faucet.
Install the New Faucet
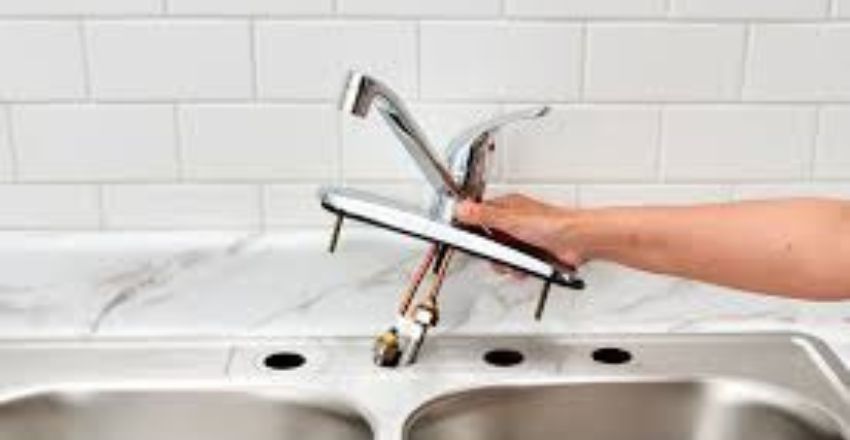
Position the new faucet into the sink holes, aligning it properly. Most faucets include a baseplate to help secure them in place. Attach the provided mounting nuts underneath the sink. Tighten them firmly using a basin wrench, but avoid overtightening to prevent damage or misalignment.
Reconnect the Water Supply Lines
Attach the hot and cold water supply lines to the respective valves on the new faucet. Use the plumber’s tape on the threads to ensure a tight and leak-free seal. Tighten the connections securely with a wrench, but do not overtighten, as it may damage the fittings or create new leaks.
Turn On the Water Supply
Open the shutoff valves to restore water flow. Check for leaks in the connections as the water begins to flow. If you notice any drips or leaks, tighten the connections or reapply the plumber’s tape. Run water through the faucet to ensure proper water pressure and smooth operation.
Test the Faucet
Test both hot and cold water to verify that the faucet functions correctly. Turn the handles and check for smooth operation. Inspect the sink one final time to ensure there are no leaks. If everything is working properly, your new kitchen faucet installation is complete!
Benefits of Replacing a Kitchen Faucet
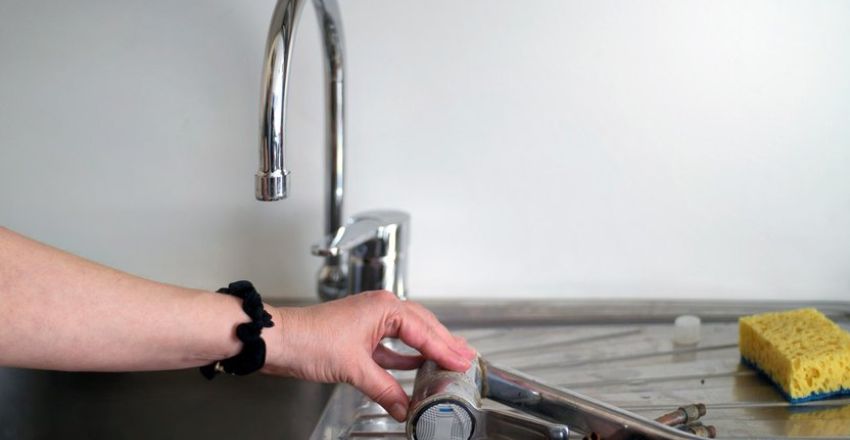
- Replacing your kitchen faucet improves functionality, enhances the kitchen’s appearance, and may save water with modern features.
- It can fix leaks, prevent water waste, and add convenience with advanced designs like pull-down sprayers.
- A new faucet also increases the overall value of your kitchen, making it more efficient and visually appealing.
Maintenance Tips for Your Kitchen Faucet
- Clean the faucet regularly using non-abrasive cleaners to maintain its shine and prevent buildup.
- Check connections occasionally for leaks and tighten them if needed.
- Clean the aerator to ensure smooth water flow.
- Avoid harsh chemicals that may damage the finish, and follow the manufacturer’s instructions for long-lasting performance and reliability.
Why You Might Need to Replace a Kitchen Faucet?
Replacing a faucet may be necessary due to leaks, rust, or outdated design. If water pressure is low or parts are damaged, a new faucet improves functionality. Upgrading to a modern faucet can enhance efficiency, reduce water waste, and provide added convenience, making daily kitchen tasks more manageable.
Which Kitchen Faucet is Best?
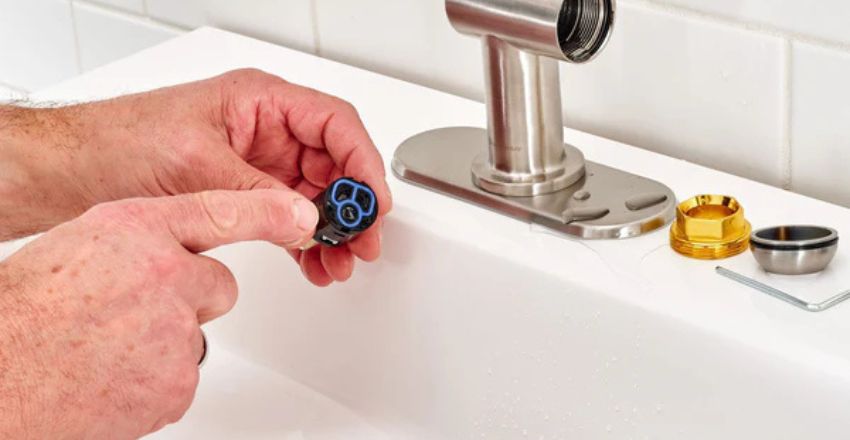
The best kitchen faucet depends on your needs and preferences. Pull-down or pull-out sprayers are ideal for flexibility, while touchless faucets offer convenience. Consider durability, water efficiency, and ease of installation. Popular materials like stainless steel or brass resist corrosion. Brands like Moen, Delta, and Kohler are renowned for quality and innovative features.
Impact of a New Kitchen Faucet
A new kitchen faucet transforms your kitchen by improving functionality and aesthetics. It provides better water flow, reduces leaks, and introduces modern features like touchless operation or sprayers. Upgrading to a stylish design enhances the overall kitchen ambiance, making it more efficient and enjoyable for daily tasks like cooking and cleaning.
Conclusion
Replacing a kitchen faucet is a simple yet impactful upgrade for your kitchen. This article covered detailed steps on how to replace a kitchen faucet, along with its benefits, maintenance tips, and reasons for replacement.
By following the guide, you can enjoy improved functionality, modern features, and a refreshed kitchen appearance, all while saving time and money.
If you want to read an interesting article about it, explore our “Kitchen” category.
FAQs
If your faucet is leaking, has low water pressure, or is rusted, it may need replacement. An outdated or malfunctioning faucet can also hinder daily kitchen tasks.
Yes, replacing a kitchen faucet is a manageable DIY project. With the right tools and instructions, you can follow the steps to install a new faucet successfully.
You’ll need a basin wrench, an adjustable wrench, a plumber’s tape, and a bucket. These tools will help you disconnect and install the faucet properly.